Easy Homemade Dinner Rolls
- Kristen Garaffo
- Nov 23, 2020
- 4 min read

My husband loves to bake - and it's one of my favorite things about him.
I thought Dale started baking after we started The Great British Bake Off, but he says he started with homemade pizza dough way before then. Scrolling through pictures on his phone - we discovered that he's been baking since 2016! Bread is his favorite - and he's made bagels, croissants, pretzels and more. Our family looks forward to his homemade bread every time he makes it - and of course, his bread is a very important part of our Thanksgiving meal.
Since Thanksgiving will be much smaller this year, he's decided to make a small batch of dinner rolls. Even though our celebration will be a little more low key this year - having his bread will make it just as special as years before. And dinner rolls are good for beginner bakers! The ingredients are super simple, and we recommend using a food scale to measure! I'll let Dale take it from here - he wrote this recipe :)
Dale's Easy Homemade Dinner Rolls
Ingredients:
250g or 2 cups All-Purpose Flour or Bread Flour
75g or 1/3 cup Water
75g or 1/3 cup of Milk (we use Almond milk!)
5g or 1tsp Salt
4g Active Dry Yeast (about half a package)
7g Honey (a generous squeeze!)
Combine Water and Milk and set aside.
Put Flour, Salt, and Yeast in a bowl. You don't want the salt and the yeast to touch each other for as long as possible, so be sure to put them on opposite sides of the bowl. The salt will kill the yeast!

3. Gently whisk (or use your fingers) the salt side in with the flour, and then the yeast side with the flour. Then whisk a few times all together.
4. Quickly add about 3/4 of the water and milk and start to mix together with one hand - incorporating the dry ingredients in with the wet. Your hand will be very sticky!
5. Once a sticky dough is formed, take the dough out of the bowl and add the rest of the water and milk. Put the dough back in and incorporate the rest of the dry ingredients.
6. Put your dough on your countertop and knead for about 5 minutes, until the dough is smooth.
7. Place your dough in a lightly oiled covered container to rest for about 10-minutes. I recently began using the Dutch oven and have found it works works perfectly, a large Tupperware container would also work!
8. After the dough has had the chance to rest, take it out and knead/fold it a bit more (1-2 minutes). You’ll notice it is much easier to stretch and fold after it has rested, and you should be able to get a very smooth beautiful dough ball afterward
9. Place dough back in the covered container for approximately 90 minutes for the first proof. Make sure your container is big enough that the dough can double it’s size in height AND diameter.
10. Remove from proofing container (I like to just hold it upside-down and wait for the dough to slowly detach from the container and fall onto the countertop) and press the air bubbles out of the risen dough (most fun part!).
11. Now time to divide the dough. This recipe should make 12 rolls that are about 35 grams each. I like to use a knife and cut the dough into “strips” so that I can break them off into 35g blobs.

12. Forming the rolls. One by one, take each 35g dough blob into your hand and flatten it. Then begin folding inward from each corner, and continue as new corners appear so that you continue to fold it into itself multiple times. The structure should become more stiff and you won’t be able to fold it anymore once it is formed. Give it a little roll on the counter and then it’s done!
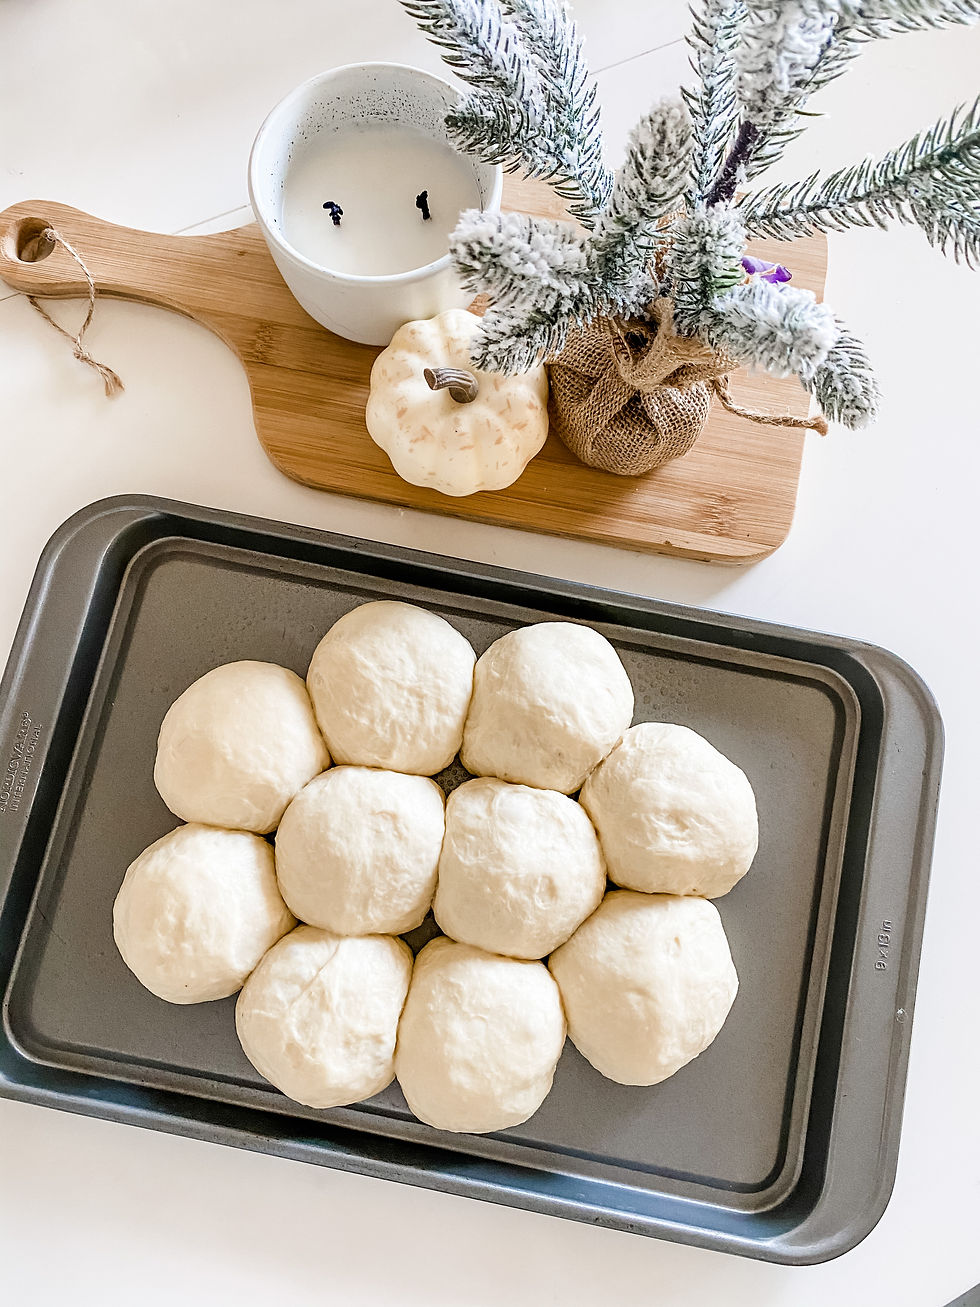
13. Place the formed rolls on a lightly oiled baking sheet with about an inch separating them from each other. As they go through their “second proof”, they will get bigger and begin to touch each other, which will give you that wonderful pull-apart quality!
14. Let them rest, covered, for another 60-90 minutes. I use a plastic turkey bag to cover them, but whatever you use, make sure it does not sink down or deflate and touch the rolls!
15. Preheat oven to 425. Brush melted butter onto the tops and sides of the risen rolls. Be careful not to push on them too hard when you brush them, they are delicate!
16. Bake on middle rack for 10 minutes at 425. After 10 minutes, rotate the pan 180 degrees and lower the oven temperature to 375. (Be careful when you open the oven, steam will fly out at you! But this is when your whole house will smell like bread!)
17. Bake 10ish more minutes! They are finished when the edges between rolls are also getting golden brown (the tops will get brown pretty early).
18. Remove from oven and let cool at room temperature for 5-10 minutes, or however long you can resist! Optional step, brush the rest of the butter on them when they come out of the oven!
Step 20: EAT HOMEMADE ROLLS, and accept compliments from far and wide!
We hope you enjoy the rolls, and find joy in making them yourself :) Happy Thanksgiving!
xo, Kristen + Dale


Comments